Virtualization is everywhere in the aspect of providing more flexible, reliable environment to run dual operating systems. Virtualization effectively prevents the waste of Resources. There are very few number of virtualization softwares available in the market. From that, we right now going to see a free virtualization software named Virtualbox by Sun Systems.
VMWare comes as a premium software and ofcourse it has so many extra ordinary features compare to the free one available. However, for a desktop user, to enjoy dual operating system without turning off their current operating system, virtualbox is pretty good and suitable.

Part 1 covers : Installation of Virtual Box, Setting up a Virtual Machine and Virtual Hard Disk
Part 2 covers : Installing Windows 7 and Some Important Features
Virtual Box
VirtualBox is a virtualization application, in simple terms you can use another PC inside your PC which can run different operating system. In other words, Virtualbox enables us to run Linux on Windows OS or vice versa.
It installs on your existing Intel or AMD-based computers, whether they are running Windows, Mac, Linux or Solaris operating systems and extends the capabilities of your existing computer so that it can run multiple operating systems inside multiple virtual machines at the same time. You can install and run as many virtual machines as you like — the only practical limits are disk space and memory.
Table of Contents
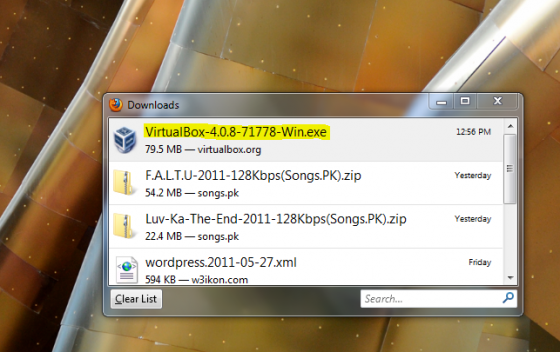
Download Virtualbox

Choose the package based on your operating system support. For the tutorial, I have installed Windows 7 operating system over a windows 7 Operating System. Users who like to install Ubuntu Linux over a Windows 7 operating system, please continue reading…
Install Virtualbox in Windows
Note: Since NAT (Network Address Translation) protocol will be configured during the installation. It is recommended that you disconnect your internet.
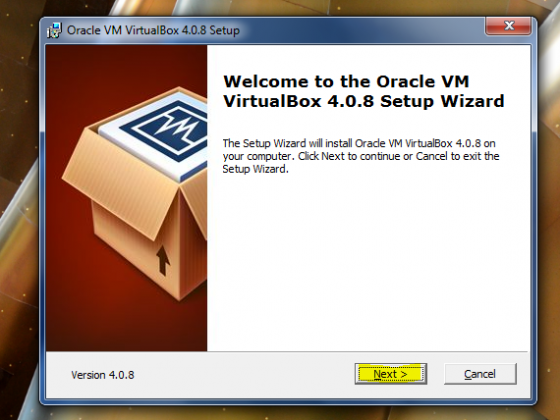
Step 1: Open the downloaded .exe file, it will take you the installation wizard. Click Next then, it will advance you to the type of setup you need.
 Step 2: You can go with the default options in case, your C: drive has sufficient disk space or else go to Custom Setup and change the drive which has sufficient space to run the Virtualbox software.
 You may experience difficulties in running your application if your disk space is not sufficient.
 Step 3: It will show you a warning in the next setup that your network connection might be temporarily disabled and your installation will start now.
Step 4: Setting up a Virtual Machine
 Setting up a Virtual Machine involves some simple steps, It is exactly like building your machine before using it. For a Virtual Machine you will need only your Hard disk space and Memory.
Other requirements such as Sound configurations, Network Adapters are directly inherited from your PC.
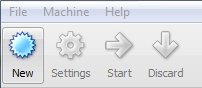
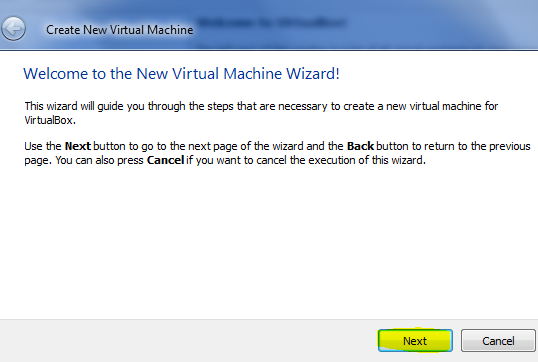
1. Now going to the process, First of all you have to click on the Menu then New option available at the top left of your Virtualbox application. Now you will be taken to the Create a New Virtual Machine wizard, like the one shown below.
Step 4.1 The Next step is to choose a Name for your VM (Virtual Machine) and choose the OS type that you are going to install in the Virtual Machine. Here, I have named the Virtual Machine as “Playbuck” and the Operating System type as Windows 7.

Step 4.2: The Next Step will automatically direct you to Virtual Hard Disk Creations Wizard and alternatively, if you have a (.vdi) virtual hard disk file you can use it.

Step 5: Setting up a Virtual Hard Disk
Choosing next in the, “Create New Virtual Disk Wizard” will take you to “Hard Disk Storage Type Menu“. You can choose any of the two types based on the space you would like to allocate to your Hard Disk.
For Example, After installing Windows 7 in your 20 GB hard disk you will hardly have at least 16 GB of storage space left out. If you had chosen Fixed Size your 16 GB will be getting wasted when you don’t use it completely or else in case of dynamic, the size will grow gradually with respective to your usage and you can utilize the rest of the space for your other uses.

Step 5.1: After choosing those options, you will be required to set the location and size for the hard disk, which will be stored as a .vdi file.

Step 5.2: Finally, a summary of your Virtual Disk configuration and Virtual Machine will be shown to you . Click Finish !

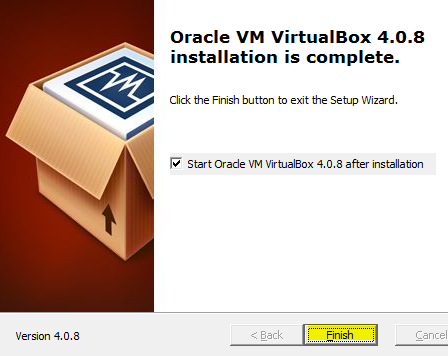
Now you have successfully setup the initial requirements and the only step left is, power on your Virtualbox and start enjoying your favorite operating system on virtual platform.
To be continued…
You may follow us on Twitter or like us at Facebook to get more How to’s, Tech news and so on.