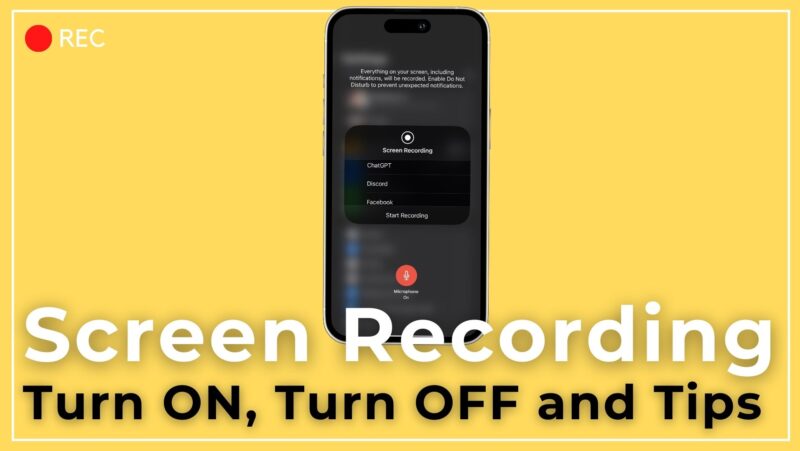
Are you wondering how to turn on screen recording on iPhone? This feature is incredibly useful for creating tutorials, saving video calls, or recording gameplay. The same steps should be followed to Turn ON Screen Recording on iPad Air or iPad Pro.

iPhone 17 Tempered Glass (Screen Protector)
Spigen iPhone 17 and 17 Pro Screen Protector with Application Kit. Tempered Glass for iPhone with 9H+ Hardness and Enhanced Durability.
Affiliate link. As an Amazon Associate I earn from qualifying purchases.
We will see three things about screen recording on an iPhone or iPad today, along with some additional useful tips.
- How to do Screen Recording on iPhone/iPad?
- How to Turn OFF Screen Recording on iPhone/iPad?
- How to Screen Record with Microphone Audio on iPhone/iPad?
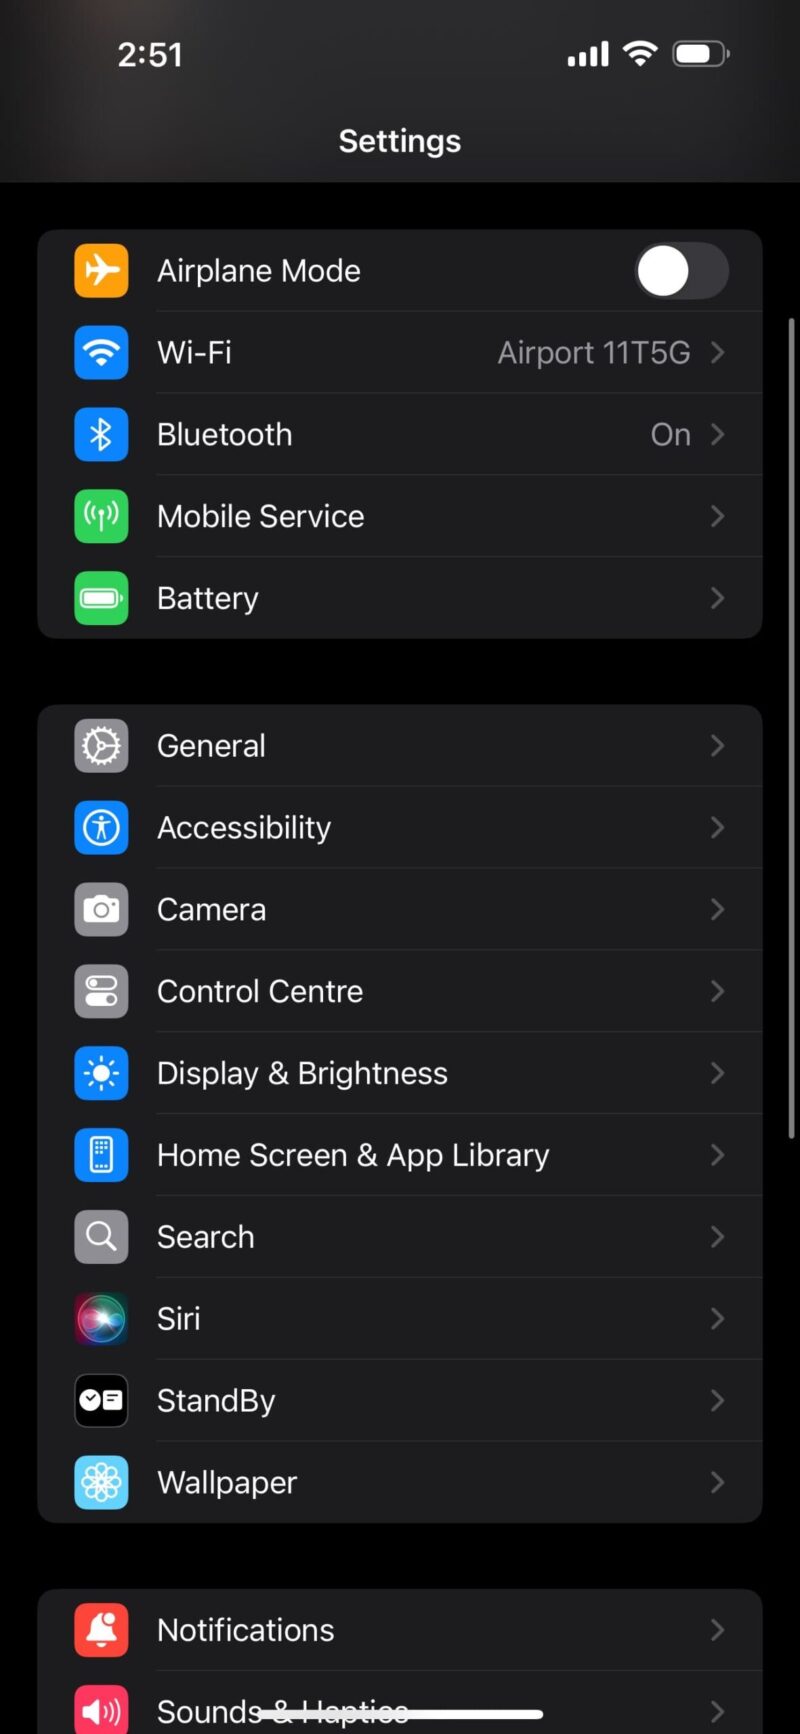
Table of Contents
How to Turn ON Screen Recording on iPhone?
Before turning on screen recording on your iPhone, you must add the Screen Recording button to your Control Center. Follow these steps if you are running iOS 17 or earlier versions:
- Open the Settings app on your iPhone.
- Scroll down and tap on “Control Center.”
- Under “More Controls,” find “Screen Recording.”
- Tap the green plus (+) icon next to Screen Recording to add it.
Follow these steps if you are running iOS 18 and later versions:
- Swipe down to access the Control Center.
- Tap on Hold on the empty screen area to customize the control center.
- Tap on “Add Control” and search for “Screen Recording”.
- Add it to the Control Center Screen and move it to where you want the icon placed for easy access.
Now that you’ve set up the feature, you’re ready to turn on screen recording on your iPhone whenever you need it.
Let’s Start Recording your iPhone or iPad Screen.
To start recording your screen:
Swipe down from the top-right corner of your screen to open Control Center. (Swipe up from the bottom on older iPhones with a home button.)

Locate the Screen Recording button, which looks like a solid circle inside another circle. The screen recording feature is the last icon at the bottom of the above screenshot.
Tap the Screen Recording button to turn on screen recording on iPhone.
You’ll see a 3-second countdown.
After the countdown, your iPhone will begin recording everything on your screen.
Screen Recording with Sound
By default, when you turn on screen recording on your iPhone, it doesn’t capture audio. To include sound:

Instead of tapping the Screen Recording button, press and hold it.
- Tap the microphone icon to turn it on.
- Then tap “Start Recording.”
This will record your screen and any sounds your iPhone’s microphone picks up.
How to Turn OFF Screen Recording on iPhone?
When you’re finished recording:
- Tap the red status bar at the top of your screen.
- A pop-up will appear asking if you want to stop recording. Tap “Stop.”
- Alternatively, open Control Center again and tap the Screen Recording button.
Your recording will be automatically saved to the Photos app.
Also Read, iPhone 12 vs iPhone 13 vs iPhone 14: Which Model is the Best Buy in 2024?
Useful Tips for Better Screen Recordings
- Clear Notifications: Enable Do Not Disturb mode to prevent interruptions.
- Clean Your Screen: Ensure your screen is smudge-free for a more precise recording.
- Plan Ahead: Know what you want to record before you start.
- Check Storage: Make sure you have enough free space on your iPhone.
Screen Recording Not Working on iPhone?
If you can’t find the option to turn on screen recording on iPhone in Control Center settings:
Ensure your iPhone is updated to the latest iOS version. Check if Screen Recording is restricted in Screen Time settings.
Also Read, Convert HEIC to JPG For Free on iPhone
Remember that screen recording can capture sensitive information. Always be mindful of what’s on your screen when you turn on screen recording on iPhone. Avoid Exposing any private or sensitive information to your audience. Make sure to edit screen recording with iMovie or Luma Fusion, like Video Editor, to hide or blur out sensitive information.
Learning how to turn on screen recording on iPhone opens up a world of possibilities for capturing and sharing your device’s screen activities.
Whether for work, education, or entertainment, this feature is easy to set up and use.
Feel free to ask your questions in the comments section. If the above tips are helpful, then you may share them with your friends to help them out if they are new to the iPhone or iPad. Have a wonderful day.