This article helps you to create a swap file in your Linux systems. This swap file helps you when you haven’t created a swap partition or when you want to extend your swap space latter after installation.
It’s of four important steps.
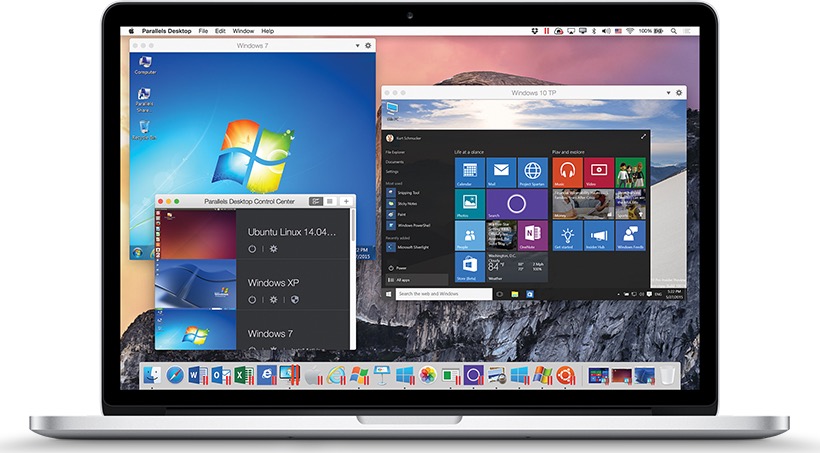
Parallels Desktop for Mac
Run Windows inside macOS seamlessly with Drag and Drop file transfers between Windows and Mac. Windows Apps and Games runs on Parallels smoothly. Save with your Purchase today.
They are,
- Making a Swap File.
- Formatting the created File into Swap.
- To add the swap space on the warm system.
- To make the changes permanent.
Step 1:  Making the Swap File.
First determine the amount of Swap space you need, and create a swap file of the same size by the following command
Here we create a swap file of 1GB.
sudo dd if=/dev/zero of=/mnt/one_GB_swap_File.swap bs=1M count=1024
Here
–> bs refers to Block Size.
–> Count refers to the number of counts it should add to
The above command will create a file one_GB_swap_File.swap of 1 GB size in /mnt Location.
Step 2: Format the created file into a Swap File.
The next step is to make it a usable swap file.
To Format it to swap run this command
sudo mkswap /mnt/one_GB_swap_File.swap
This command will make the file one_GB_Swap_File.swap into a swap file.
Step 3: Adding the Swap File To the Running System.
The Third step is to add the swap file created into the running system. To do this run the following command in the terminal.
sudo swapon /mnt/one_GB_swap_File.swap
This will add the freshly created swap file into the system. This can be checked with the free command if you wish.
[ Add picture up.jpg]
Step 4: Making Changes Permanent:
The Final Step is to make the changes of the system permanent. For this we have to edit the fstab file and inform about our new swap space to the system.
To edit the fstab file we use gedit with the following command.
gksudo gedit /etc/fstab
And add the following line at the end.
/mnt/one_GB_swap_File.swap none swap sw 0 0
Save and Reboot to see the function in action.
UNDO
When there comes a necesity for space, we might have to delete the unwanted files and we might wish to delete the SWAP too.
To delete the created swap
1) Remove the newly added line from fstab file.
2) Delete the file from /mnt.
No need for Reboot even.
Hi again, i am Rajkumar doing engineering in Information Technology. I am an Ubuntu freak and doing research in DSP. I am happy to write my second article with Gurusonline. It would be great if you have a look at my previous article titled “Restoring Grub Bootloader after Windows Reinstallation“. Looking forward for your valuable comments.