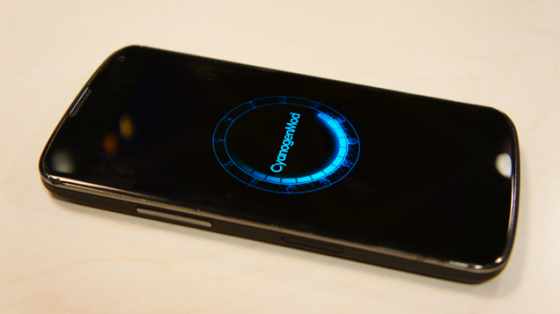
Want to root your Google Nexus 4 to get root access to your device for ultimate power ? This guide is here to help you. This article is simple instructions for any Nexus 4 user to understand. But before proceeding with the rooting guide, there are few things that you must be knowing if you are new to these rooting stuff. Rooting an android mobile is easier than the other platforms. We have plenty of guides to use android mobile as keyboard, mouse and so on. Use our “Search” feature at the top right corner to explore more android tutorials and contents by dailytut authors.

By rooting an android device, you are allowing more customization and tweaks to be possible. It opens the doors to do more with your android smartphone. We have a simple and easy to follow step by step tutorial here to let you root google nexus 4.
Table of Contents
What is Rooting ? Why to Root ?
In simple words, rooting refers to giving you root access to your Android device. You can install powerful apps meant only for rooted devices, make your Android device to work a lot faster and perform more powerful commands. You can also install custom ROMs on your Android device, giving it a great look and feel. Here is a basic guide that tells you how to root android mobile phone. You may also find how to install .APK files on Android as a useful one.
Is Rooting Safe ? Will I Lose Anything ?
Rooting does void your warranty. If your Android device malfunctions and you want to get it repaired with your Android manufacturer, he/she will not agree to that. But there are possible solutions to this too. You can easily unroot your Android device and eventually this will reinstate your warranty. Then, you can get the device repaired easily.
How to Root Your Nexus 4 ?
These instructions are pretty simple to follow. Once you root your Nexus 4, you will get to know the ultimate power of this device. It will no longer be the same, old, Nexus 4 that your manufacturer LG shipped. And also make sure that, this rooting guide is for Windows PC users.
1) Before rooting your Nexus 4, it is highly suggested that you take backup of your entire data. It might be this way, that the entire data gets wiped off when you put your device into the fastboot / bootloader mode when you are rooting. That’s why, it is suggested that you take up backup of the entire data first. Copy all your photos, videos, contacts and whatever that concerns you, to your computer or any other safe device.
2) Download the latest version of Android SDK
(developer.android.com/sdk/index.html)
and CF-Auto-Root by Chainfire
(download.chainfire.eu/297/CF-Root/CF-Auto-Root/CF-Auto-Root-mako-occam-nexus4.zip )
3) Put your Nexus 4 in the USB Debugging mode, by enabling this at Settings > Developer Options > USB Debugging.
4) Install Android SDK which you downloaded earlier. This providers the entire, latest drivers for your Google Nexus 4 to communicate with your Windows PC.
5) Now it’s time to extract the CF-Auto-File on your Windows desktop. I recommend you to extract this in the desktop so as to easily remember the path. We need to run a file in this CF-Auto-Root folder in the later stage, and this forms the essential part of this guide.
6) It’s time to put your Nexus 4 in the bootloader / fastboot mode. You can do that by switching off the Nexus 4 entirely first, and then put in the fastboot mode by pressing the Volume Down and the Power button simultaneously. The fastboot mode opens. You can stop pressing the buttons.
7) Now connect your Nexus 4 to your PC by using your micro-USB cables.
8) Run the Root Windows .exe file in the CF-Auto-Root folder that we extracted a little earlier. Now you see why I asked you to extract the folder to your Desktop.
9) Wait for the process to end and once done, your Nexus 4 is rooted! It’s time to restart your Nexus 4 and enjoy the full power of your device. Have fun.
If you found this rooting guide for Nexus 4 to be really helpful, make sure to share this guide with your fellow Nexus 4 users via social networking websites. Thanks for reading and have a wonderful day !


