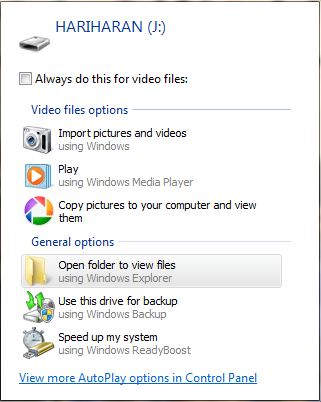
In windows when ever you use any removable devices you will be prompted to scan and fix the device. Many users might have their own anti-virus to protect their system. In that time the pop-up window will be quite annoying. So here is the procedure to disable pop-up window for your removable devices.

The scan and fix window appears when the removable media is not unmounted properly at the last time. Also it checks for file system errors in your secondary storage device. In order to avoid this make sure you always unplug your device after giving safe remove hardware option available on windows.
One thing you need to understand is if you disable scan and fix window also the autoplay window prompted after scan and fix window will be disabled automatically. So if you don’t want to disable your autoplay for your removable devices leave disabling the scan and fix window instead of that unplug your device after giving safe remove hardware option everytime.

Procedure to disable scan and fix window
Here are the steps you need to follow to disable scan and fix windows from your system. Also make sure you are disabling autoplay window too.
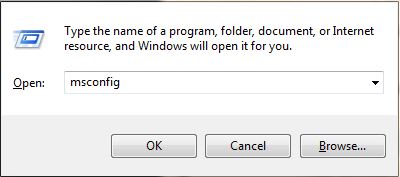
Go to the start menu and search for “msconfig” or open run command and type “msconfig“. A window appears before you with all the running services in your system.

Click on the “service tab” in that window and scroll down for the “Shell Hardware Detection“. Then uncheck the option running in the services. This will disable the scan and fix window in your system.

Restart your computer to reflect the changes you made in your system. If you need to kill the service immediately for scan and fix window means go to “services.msc“. Open start menu and search for “services.msc” or else go to run command and type the command “services.msc“. This will prompt a window will all the running services in your windows machine.

In this window too search for the same “Shell Hardware Detection“. Double click on the service which is running you will be prompted with a window which controls the particular service. Click stop on general tab of the window. This will disable the scan and fix window from your system.

So these are all the steps to disable scan and fix window from your windows machine. Be careful while stopping these services. If you want to stop anything or start any other services check it functions correctly and stop or start it. Because unknowingly if you start or stop any services it will result in malfunction of your system.
You may follow us on Twitter or like us at Facebook to get more Windows News and Updates.


