Apple has released macOS Sierra to Mac computers world wide this 20th September. If you haven’t upgraded your Macbook, Macbook Pro, iMac or Mac mini to macOS Sierra, then its time to upgrade. Before that, you should read this article for properly Creating macOS Sierra Bootable USB Installer once you downloaded the operating system via Mac App Store. We also have a video tutorial ready to help you with the step by step macOS Sierra Bootable USB Creation process.
Just like last years Mac OS X El Capitan Bootable USB Installer process, you have to make sure that the backup of macOS Sierra is taken once download completed at Mac App Store. It is a very important step which you should remember before proceeding with the macOS Sierra Installation or Upgrade.
Also, if you have multiple mac computers or want to share the copy of this file with your friends then taking backup will be very useful.
If your Mac Slow? You can turbo charge the Speed of your Old mac to run like a New Mac computer with MacPaw’s Cleanmymac 3 software. Read about Cleanmymac 3 Review here.
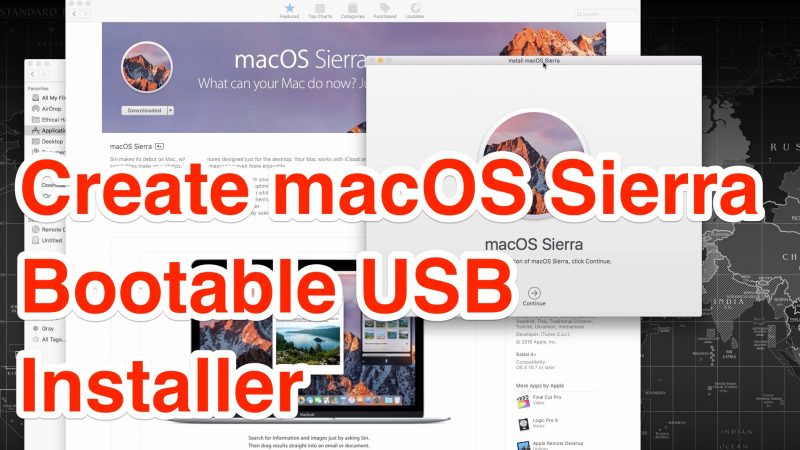
Create macOS Sierra Bootable USB Installer
Once you downloaded macOS Sierra from Mac App Store, the Installation Wizard automatically launched and asks you permission to start the Installation process. Before going forward, you have to go to “/Applications/” Folder and locate the file named “Install macOS Sierra”. Copy and Save it to different directory or to a Secondary Hard Disk Drive, if you plan to do a clean installation. Remember, you have to copy and not move the file as we need “Install macOS Sierra” file to be at Applications folder for Creating Bootable USB Installer.
You can watch the following video about How to Create macOS Sierra Bootable USB Installer available at our Youtube Channel.
Step 1: Insert a Black pen drive and launch “Disk Utility” for formatting it with OS X Journaled file system type. As you can see in the above video tutorial, i have named the pen drive as “Untitled”.
Step 2: Now Launch “Terminal” and copy, paste the following code. It will prompt you for Root Password, which is your current mac account password. Enter the password and press enter to start the Formatting process once again.
Step 3: Your macOS Sierra Bootable USB Installer is getting ready and it takes normally 10 to 15 minutes, depending on your Mac computers specification.
That is all. macOS Sierra Bootable Pen Drive will be ready in few minutes and you can use that for Clean Installation or Upgrade from OS X El Capitan to macOS Sierra.
Congratulations! You have successfully created macOS Sierra Bootable USB Installer Disk. Thanks for reading and feel free to share this tutorial with your friends and followers at Twitter, Facebook and Google+. Have a wonderful day.
You may also like to Read,